


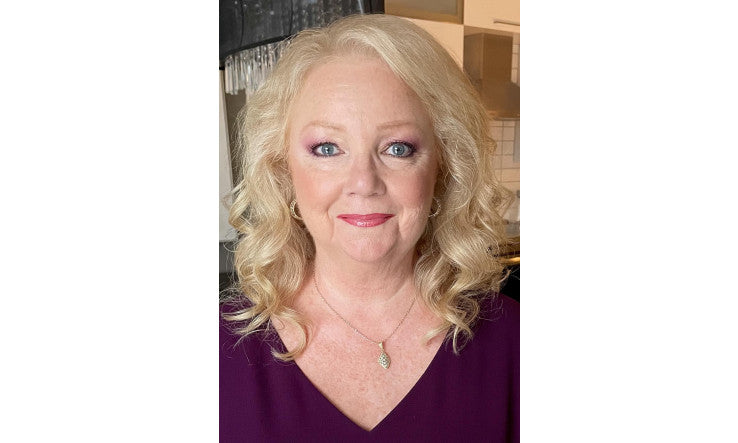
Thanks to Andrew Gilbert for the photo and who did my hair for this one. The beautiful color, it's always been done by Kevin at Alvaro, my friend for over 20 years?
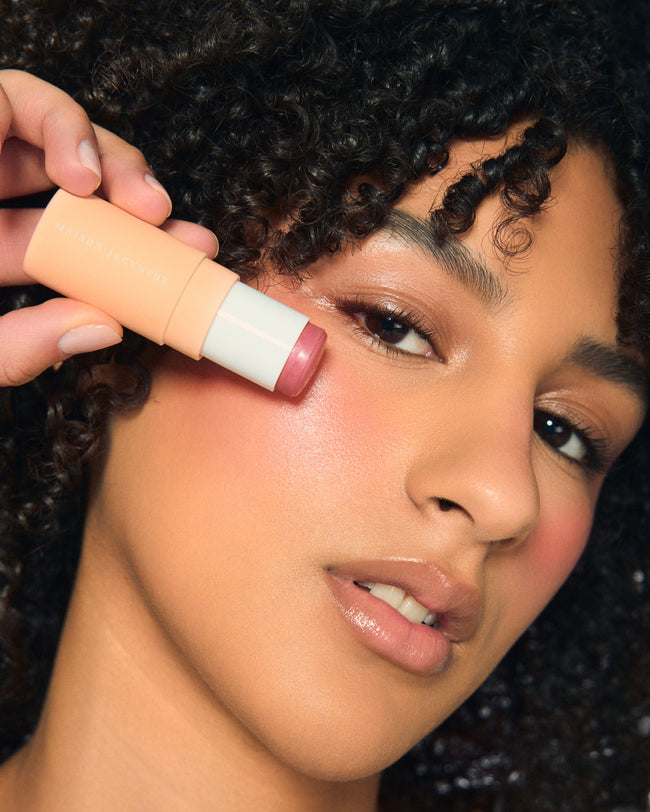
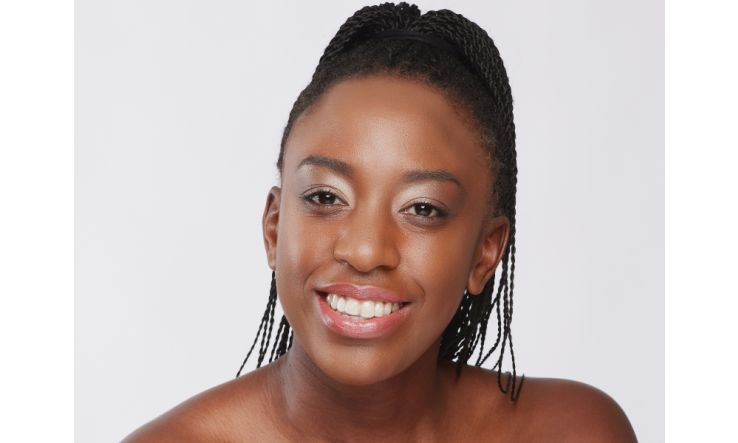
We're all in love with this makeup look. Wow! You wanted to know the details to recreate it (and so did we!), so here's Susan, the makeup artist who created this sublime look, sharing the steps with us live, along with her pro tips and tricks.
To recreate this superb look, grab your brushes ! Here are the steps and products used:
- To begin, apply the Hydra Tint all over the face and also lightly on the eyelid, as a base.
- Even out your complexion with Complexion Fluid: apply with a sponge , wonderful! It provides a flawless effect by blending well into the skin.
- To camouflage redness and other small imperfections, apply a little cream foundation from the Complexion Radiance palette; on the cheek area, it will begin the contouring!
- Tape-à-l'œil palette, eyeshadows #1 & #5: on the mobile eyelid, without going too far outwards. Susan's tip: after dipping the brush into the 2 eyeshadows, spray the Eau teint on the brush before applying to the eyelid. Wow!
- Tape-à-l'œil palette, eyeshadows #4 & #8: for the outer corner of the eye. Adjust according to the morphology of the eye.
- Tape-à-l'œil palette, eyeshadow #4: in the crease of the eye, gently to soften. Then use a clean blending brush and blend in a back-and-forth motion. Blending is what will make the result even more beautiful!
- Tape-à-l’œil palette, eyeshadow #3: in the crease of the eye as well, towards the outside.
- Onyx and Oh! Violet Eye Pencils : Onyx on the upper lash line and on the "inside" of the eye, near the lash line (at the top). Then apply Oh! Violet over Onyx on the upper lash line.
- With our Eyelash Curler , curl your eyelashes to open up your eyes even more! This step could also be done at the start, before starting your makeup.
- Apply Mascara (coming soon!): Play with it! Once, twice... 10 times; until you get a result you like. You can curl your lashes again once they are completely dry, being very careful not to tear them out. Caution is advised!
- Tape-à-l'œil palette, eyeshadow #1: with your finger, on the brow bone (under the eyebrows) followed by a mixture of the two highlighters from the Sol Luna palette as a point of light at the outer corner of the brow bone (still under the eyebrows). To do this, after dipping the brush in the two highlighters, lightly spray the brush with Eau teint .
- Concealer from the Radiance Palette: V-shaped, under the eye. This triangle normally suits almost all face shapes.
- Statuesque eyeshadow pencil , under the eye: only half of the eye, from the outside towards half of the pupil. Then blend with a brush.
- As a highlight, apply a mix of the two highlighters from the Sol Luna palette to the inner corner of the eye. For added highlight, spray the brush with Eau teint before applying.
- Cashmere Eye Pencil : on the “inside” of the eye (bottom).
- Naturally draw/fill in eyebrows with the Eyebrow Pencil .
- Cut in with the bronzer from the Sol Luna palette: an imaginary line between the middle of the ear and the corner of the mouth, without going below it. Make a "3" by also applying it near the hairline, on the jawline and the chin. With a large brush, go down to the neck to unify.
- Possibility to refine the nose (sides and tip of the nose) using the blending brush #2 and the bronzer from the Sol Luna palette.
- Cheek to Cheek Palette: Mix coral and pink. If you use too much, don't worry! Simply use a clean brush to blend.
- For lips: Venus Lip Pencil followed by 2 Faced Lip Gloss (the latter, only in the middle of the lips).
- Apply HD Powder lightly to the "T" zone (forehead - nose - chin). Avoid the cheeks and adjust according to your skin type.
- Finish with the Water Tint .


Leave a comment